Linux Infrared Control Part 1: Receive IR
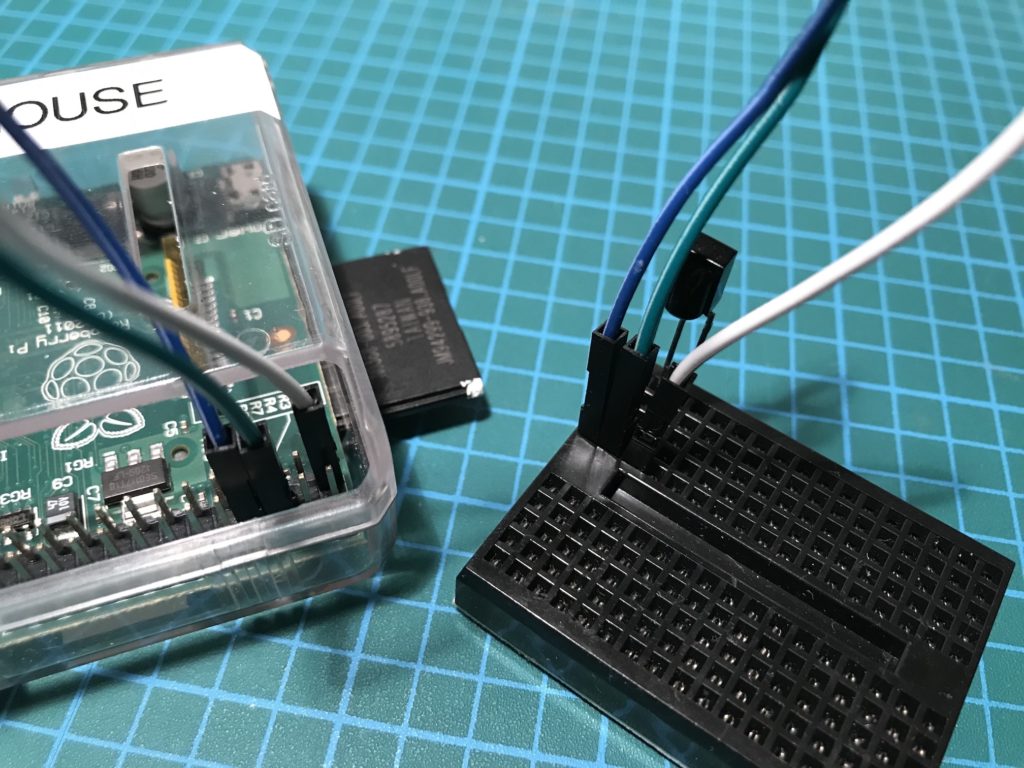
Sunday, October 29th, 2017Would you like to use a remote control to control your computer? How about using your computer to send remote control signals to your TV or Stereo instead of using the remote?
Would you like to use a remote control to control your computer? How about using your computer to send remote control signals to your TV or Stereo instead of using the remote?
Most modern HDMI connected devices support Consumer Electronics Control (CEC). It allows devices to send commands to each other, typically to get the TV to switch input and control volume. If you have ever turned on a Game Console and had your TV automatically change input to that device you have seen CEC in action. It is very convenient and useful, sort of a universal remote that works.
Every manufacturer seems to have it’s own branding of CEC (e.g. Samsung Anynet+, LG SimpLink, Sharp Aquos Link) but it may need to be enabled. Check your manual for details.
Using a Raspberry Pi connected to a TV that supports CEC, you can use the command line `cec-client` application to control the inputs and the TV itself. These are notes on how to use `cec-client` and understand the different options.
A few months ago I setup a web browser based dashboard running on a Raspberry Pi, displaying weather, time and transit information. It worked out well, but it’s success revealed another problem. Turning the screen on and off multiple times a day was getting old.
So I did what any technically inclined person would do. I decided to create a device to turn the screen on and off by responding to dramatic changes in ambient light. The device would also provide a manual power toggle and button to refresh the browser.
This is part 3 of 3 describing the final hardware that was built from the prototype.
Although intended to be used with a Raspberry Pi, the screen controller can be used to emulate a USB keyboard and send any desired keystrokes.
A few months ago I setup a web browser based dashboard running on a Raspberry Pi, displaying weather, time and transit information. It worked out well, but it’s success revealed another problem. Turning the screen on and off multiple times a day was getting old.
So I did what any technically inclined person would do. I decided to create a device to turn the screen on and off by responding to dramatic changes in ambient light. The device would also provide a manual power toggle and button to refresh the browser.
This is part 2 of 3, describing how to use an Arduino to build a USB keyboard emulator to call the hot keys.
Although intended to be used with a Raspberry Pi, the screen controller can be used to emulate a USB keyboard and send any desired keystrokes.
A few months ago I setup a web browser based dashboard running on a Raspberry Pi, displaying weather, time and transit information. It worked out well, but it’s success revealed another problem. Turning the screen on and off multiple times a day was getting old.
So I did what any technically inclined person would do. I decided to create a device to turn the screen on and off by responding to dramatic changes in ambient light. The device would also provide a manual power toggle and button to refresh the browser.
This is part 1 of 3, describing how to create a script to turn on and off the screen and hot keys to call this script.
Although intended to be used with a Raspberry Pi, the screen controller can be used to emulate a USB keyboard and send any desired keystrokes.