Pixelmogrifier
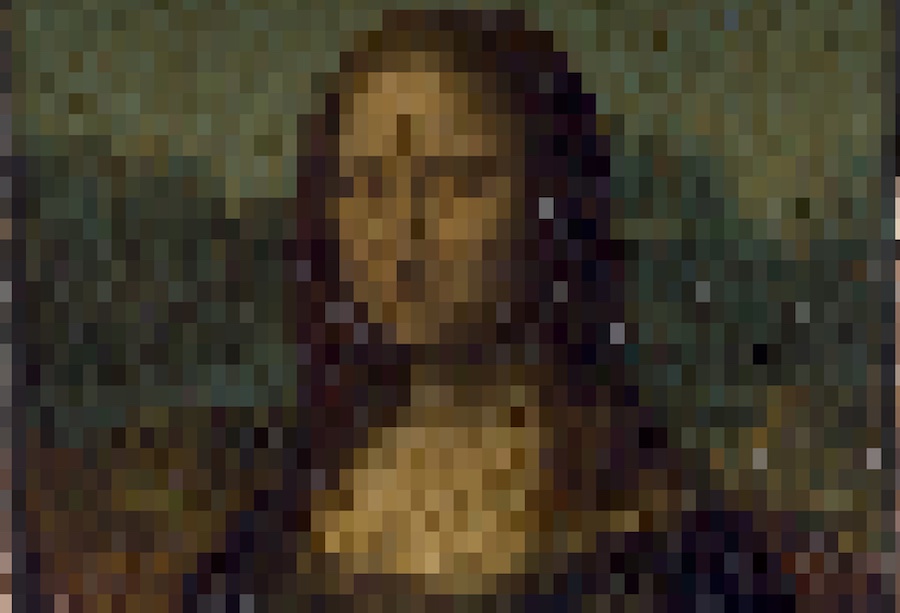
Using Python, OpenCV2, take an image and pixel-ize it without Photoshop (with apologies to Calvin and Hobbes – Transmogrifier).
Introduction
I challenged myself to do something creative, something that might look interesting, without using the obvious tools.
I decided I wanted to pixelize images, without making them any smaller, with a command line tool.
Prior Art
Like any good developer, I looked for prior art and as often happens, landed on a Stack Overflow article where someone had done all the heaving lifting already.
https://stackoverflow.com/questions/55508615/how-to-pixelate-image-using-opencv-in-python
In the tradition of Good artists borrow, Great artists steal, let’s use that, review it and polish it up.
Dependencies
The following are assumptions and dependencies:
- MacOS, 12.6 (Monterey)
- Python3, 3.10.6
- OpenCV, 4.6.0
MacOS will be used in the instructions, but any OS should work.
Install Python 3, OpenCV
Installing Python 3 is out of scope of this document, but either download the installer from:
Or use brew:
brew install python3To confirm it is installed correctly run:
python3 -V
Python 3.10.6
brew install opencvPixelmogrifier Script
Grab the script here:
https://github.com/gordonturner/creative-development/blob/main/pixelmogrifier/pixelmogrifier.py
Let’s go through it and see what it does.
Imports and argparse
#!/usr/local/bin/python3

import argparse
from typing import List
import cv2

parser = argparse.ArgumentParser(description='Take an image and pixel-ize it.')

parser.add_argument('-i',
                    type=str,
                    required=False,
                    default='input.jpg',
                    help='input image file')

parser.add_argument('-o', type=str,
                    required=False,
                    default='output.jpg',
                    help='output jpg filename, defaults to "output.svg"')

# TODO: Add image height and width dimension arguements

args = parser.parse_args()
print('Input filename:  ', args.i)
print('Output filename: ', args.o)
Typical imports, the important ones are argparse and cv2.
Using argparse will allow us to parse the command line arguements and set some sensible defaults.
The cv2 import, imports the OpenCV2 library, which will manage the processing of the input image.
OpenCV2
# Input image
input = cv2.imread(args.i)

# Get input size
height, width = input.shape[:2]

# Desired "pixelated" size
w, h = (64, 64)

# Resize input to "pixelated" size
temp = cv2.resize(input, (w, h), interpolation=cv2.INTER_LINEAR)

# Initialize output image
output = cv2.resize(temp, (width, height), interpolation=cv2.INTER_NEAREST)

# Write to file
cv2.imwrite(args.o, output)

cv2.imshow('Input', input)
cv2.imshow('Output', output)

cv2.waitKey(0)
Next, the input image argument is parsed and the size of the image is parsed. The desired ‘pixelated’ size is hard coded.
The next steps use the OpenCV2 linear interpolation to down sample the input image (basically pixelize it) and then blow it back up to the original size. The resizing down and backup results in the input image being pixelized.
The last steps are using OpenCV2 to write the output file.
Input File
The Mona Lisa is a good test image, well recognized even when pixelated:
Mona Lisa (Wikipedia)
Run Script
Copy the pixelmogrifier.py script into a working directory, create two folders input-images and output-images in that directory
Copy the input file into input-images and run the script:
./pixelify.py -i ./input-images/mona-lisa.jpg -o ./output-images/mona-lisa.jpgI also ran some paintings by Van Gough and Monet through, but the impressionists don’t look as interesting (because they are sort of ‘pixelated’ already?)
Here is the result, it a large version of the Pixel Mona Lisa:
Mona Lisa Pixelized (3 MB)
Conclusion
Bit of a long write up for what is a very simple script, but these sort of building blocks can be coupled together to create more interesting projects.
