Raspberry Pi Full Screen Browser (2020-05-27-raspios-buster)
How to setup a Raspberry Pi to boot into a full screen web browser, hiding mouse pointer, disabling screen saver, putting the browser in kiosk mode and using the Raspberry Pi 4 B dual screen output.
Running full screen browser on boot
This is part of a series on running a browser full screen on a Raspberry Pi at boot.
You are reading the most current version!
Raspberry Pi Full Screen Browser
Raspberry Pi Full Screen Browser Customization
Introduction
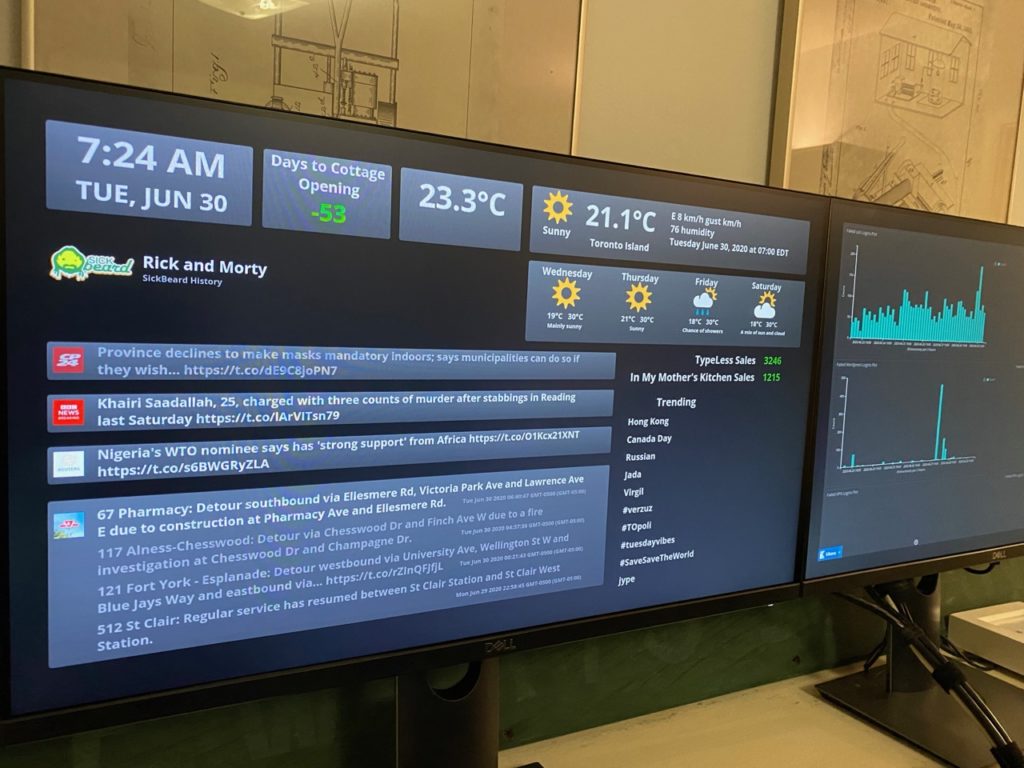
One of the primary usages of the Raspberry Pi is to drive digital signage and dashboards.
The following describes how to setup a Raspberry Pi running Raspberry Pi OS (formerly Raspbian) to boot into a full screen web browser, hiding mouse pointer, disabling screen saver, installing additional fonts, putting the browser in kiosk mode and dual screen for Raspberry Pi 4 B.
Assumptions and Dependencies
The following are assumptions and dependencies:
- Hardware: Raspberry 3 B and 4 B
- Raspberry Pi OS Buster Desktop May 5th 2020
(2020-05-27-raspios-buster-armhf.zip)
Although the Raspberry Pi model 1 B, 2 B, Zero or Zero W will work, they are very slow. A model 3 B will work and a 4 B is highly recommended.
Step 1: Install Raspberry Pi OS
Rather then re-hash how to install Raspberry Pi OS on a SD / MicroSD card, please see the official instructions.
Step 2: Configure Raspberry Pi OS
By default Raspberry Pi OS boots into the desktop, which is what we want. However we also want to set the Locale, Timezone, Keyboard and enable ssh.
First you will see a warning about SSH being enabled and the default password still set. This will be taken care of, so click OK.
By default, the Welcome to Raspberry Pi app should appear on first run. However, there are some things that need to be set that are not part of the Welcome to Raspberry Pi app so close the app by clicking Cancel.
For compatibility issues, it is recommended to set Language to en and Character Set to UTF-8. It is rare, but in the past I have had compatibility issues with other Languages and Character Sets.
- From the Desktop, click on the Raspberry Pi Menu icon in the top left corner
- Select
Preferences,Raspberry Pi Configuration - On the
Systemtab, clickChange Passwordand set a new password - On the
Systemtab, setHostname - On the
Systemtab, setSplash ScreentoDisabled - On the
Displaytab, setScreen BlankingtoDisabled - On the
Interfacestab, setSSHtoEnabled - On the
Localisationtab, clickSet Locale... - Set the
Language(eg en),Country(eg US) andCharacter SettoUTF-8, clickOK - On the
Localisationtab, clickSet Timezone... - Set the
Area(eg Canada),Location(eg Eastern), clickOK - On the
Localisationtab, clickSet Keyboard... - Set the
Model(egGeneric 101-key PC),Layout(egEnglish (US)), Variant (egEnglish (US)), clickOK - Click
Okand you should be promoted to reboot, clickYES
After reboot, on the Desktop in top right corner hover the mouse cursor over the two arrows icon. After a moment the IP address(es) of the device should appear. The IP address will be used to ssh to the device, replace the x.x.x.x in the following instructions with the address.
Most of the following can be done in the Desktop but it is faster and easier to explain command line instructions.
Step 3: Update Everything
Log into the Raspberry Pi over ssh:
ssh pi@x.x.x.xRun apt-get update:
sudo apt-get update -yYou should see something like the following:
Get:1 http://archive.raspberrypi.org/debian buster InRelease [32.6 kB]
Get:2 http://raspbian.raspberrypi.org/raspbian buster InRelease [15.0 kB]
Get:3 http://archive.raspberrypi.org/debian buster/main armhf Packages [330 kB]
Get:4 http://raspbian.raspberrypi.org/raspbian buster/main armhf Packages [13.0 MB]
Get:5 http://raspbian.raspberrypi.org/raspbian buster/non-free armhf Packages [104 kB]
Fetched 13.5 MB in 8s (1,650 kB/s)
Reading package lists... Done
If you don’t see something similar, there is a network issue, do some troubleshooting to determine the issue.
Next, upgrade the system, this can take a few minutes depending on your network speed. Run each of the following:
sudo apt-get upgrade -y
sudo apt-get dist-upgrade -y
sudo apt-get autoremove -y
Repeat the steps above until there are no more updates and result looks like:
Reading package lists... Done
Building dependency tree
Reading state information... Done
Calculating upgrade... Done
0 upgraded, 0 newly installed, 0 to remove and 0 not upgraded.
This means you have a fully updated system and can reboot:
sudo rebootStep 4: Install Dependencies
Log into the Raspberry Pi over ssh:
ssh pi@x.x.x.xInstall the following dependencies:
sudo apt-get install -y ttf-mscorefonts-installer unclutter x11-xserver-utilsttf-mscorefonts-installer adds common web fontsunclutter is used to hide the mouse cursorx11-xserver-utils installs xset, which is used to disable screen blanking
Step 5: Configuring Chromium to Autostart
Next sections will configure the Chromium browser to start at boot for single and dual screens.
The first section explains the configuration of a single screen and there are details explained that are not in the dual screen section. So it is worth reviewing single screen even if you are setting up dual screens.
Single Screen and Browser
This will configure a browser on a single screen.
Edit the autostart script, comment out the @xscreensaver -no-splash line (# CHANGED) and add the rest (# BEGIN ADDED to # END ADDED) to the bottom of the file:
mkdir -p ~/.config/lxsession/LXDE-pi
cp /etc/xdg/lxsession/LXDE-pi/autostart ~/.config/lxsession/LXDE-pi
sudo vi .config/lxsession/LXDE-pi/autostart
@lxpanel --profile LXDE-pi
@pcmanfm --desktop --profile LXDE-pi
# CHANGED
#@xscreensaver -no-splash
@point-rpi
# BEGIN ADDED
@unclutter
@xset s off
@xset s noblank
@xset -dpms
# Browser 1
@/usr/bin/chromium-browser --check-for-update-interval=31536000 --incognito --kiosk http://gordonturner.com
# END ADDEDChange http://gordonturner.com to your desired website.
The additions do the following:
#@xscreensaver -no-splash, disable the screensaver@/usr/bin/chromium-browser..., start Chromium@unclutter, hide the mouse cursor@xset s noblank, disable screen blanking@xset -dpms, disable Display Power Management Signalling (DPMS)
The Chromium parameters do the following:
--check-for-update-interval=31536000, independent of the underlying apt package management, Chromium will check to see if there is a more current version of the browser. Occasionally there will be a more current version that has not been made available and a popup will appear to update. This parameter will change the check interval the browser checks to 365 days, hopefully preventing this popup.
--incognito, start Chromium in incognito mode, which is useful as avoids any “Chromium didn’t shut down correctly” messages if the device gets restarted without a proper shutdown
--kiosk, hide the navigation bar and prevent some desktop access
Additional useful parameters:
--allow-running-insecure-content, allow https sites that include http content, normally not a good thing, useful for locally hosted mixed content
--remember-cert-error-decisions, allow Chromium to remember saved certificates that have been “approved”, useful for self signed certificates
Restart the Raspberry Pi and you should see the website you configured Chromium to start (eg http://gordonturner.com) launch full screen:
sudo rebootIf you see the browser, you are done!
Dual Screen and Browser
This will configure a browser on two screens for the Raspberry Pi 4 B.
The same parameters apply to the setup for two screens as for one. There are additional considerations for two screens; the screen geometry and relative position to each other and running two instances of Chromium with unique profiles.
Log into the Raspberry Pi over ssh:
ssh pi@x.x.x.xWith two screens plugged in and Raspberry Pi started, if necessary, open the Screen Configuration to correctly align and configure the sceens.
- From the Desktop, click on the Raspberry Pi Menu icon in the top left corner
- Select
Preferences,Screen Configuration - On the screen align and size the screens
- When done close app
Confirm geometry and relative positions of the screens to each other by running xrandr:
export DISPLAY=:0.0
xrandr
The output should look like this, depending on your screen size and arrangement.
Screen 0: minimum 320 x 200, current 3840 x 1080, maximum 7680 x 7680
HDMI-1 connected primary 1920x1080+0+0 (normal left inverted right x axis y axis) 527mm x 296mm
   1920x1080     60.00*+  60.00    50.00    59.94
   1600x900      60.00
   1280x1024     75.02    60.02
   1152x864      75.00
   1280x720      60.00    60.00    50.00    59.94
   1024x768      75.03    60.00
   800x600       75.00    60.32
   720x576       50.00
   720x480       60.00    60.00    59.94    59.94    59.94
   640x480       75.00    60.00    59.94    59.94
   720x400       70.08
HDMI-2 connected 1920x1080+1920+0 (normal left inverted right x axis y axis) 527mm x 296mm
   1920x1080     60.00*+  60.00    50.00    59.94
   1600x900      60.00
   1280x1024     75.02    60.02
   1152x864      75.00
   1280x720      60.00    60.00    50.00    59.94
   1024x768      75.03    60.00
   800x600       75.00    60.32
   720x576       50.00
   720x480       60.00    60.00    59.94    59.94    59.94
   640x480       75.00    60.00    59.94    59.94
   720x400       70.08
The relevant details for the two screens are:
HDMI-1 connected primary 1920×1080+0+0
HDMI-2 connected 1920×1080+1920+0
This translates to:
Browser 1, use --window-position=0,0
Browser 2, use --window-position=0,1920
Next, create two Chromium profile directories:
mkdir -p /home/pi/.config/chromium-custom-1
mkdir -p /home/pi/.config/chromium-custom-2
Run the following once each to create the custom profiles, hit control-c once started to exit Chromium:
/usr/bin/chromium-browser --user-data-dir="/home/pi/.config/chromium-custom-1"
/usr/bin/chromium-browser --user-data-dir="/home/pi/.config/chromium-custom-2"
Edit the autostart script, comment out the @xscreensaver -no-splash line (# CHANGED) and add the rest (# BEGIN ADDED to # END ADDED) to the bottom of the file:
mkdir -p ~/.config/lxsession/LXDE-pi
cp /etc/xdg/lxsession/LXDE-pi/autostart ~/.config/lxsession/LXDE-pi
sudo vi .config/lxsession/LXDE-pi/autostart
vi ~/.config/lxsession/LXDE-pi/autostart@lxpanel --profile LXDE-pi
@pcmanfm --desktop --profile LXDE-pi
# CHANGED
#@xscreensaver -no-splash
@point-rpi
# BEGIN ADDED
@unclutter
@xset s off
@xset s noblank
@xset -dpms
# Browser 1
@/usr/bin/chromium-browser --incognito --window-position=0,0 --kiosk --user-data-dir="/home/pi/.config/chromium-custom-1" https://gordonturner.com
# Browser 2
@/usr/bin/chromium-browser --incognito --window-position=1920,0 --kiosk --user-data-dir="/home/pi/.config/chromium-custom-2" https://gordonturner.com
# END ADDEDRestart the Raspberry Pi and you should see the website you configured Chromium to start (eg http://gordonturner.com) launch full screen on both screens:
sudo rebootIf you see the browsers, you are done!
Manage
Sometimes it is necessary to exit the browser, which can be difficult in kiosk mode. To shutdown the Chromium browser when it is full screen type at the same time:
Alt F4Supporting Scripts
There are several supporting scripts, controlling refresh and moving browser tabs, see the post:
Raspberry Pi Full Screen Browser Customization (2020-05-27-raspios-buster)
Conclusion
That is all, as new versions of Raspberry Pi OS I will update these notes.