3D Printing The first few weeks
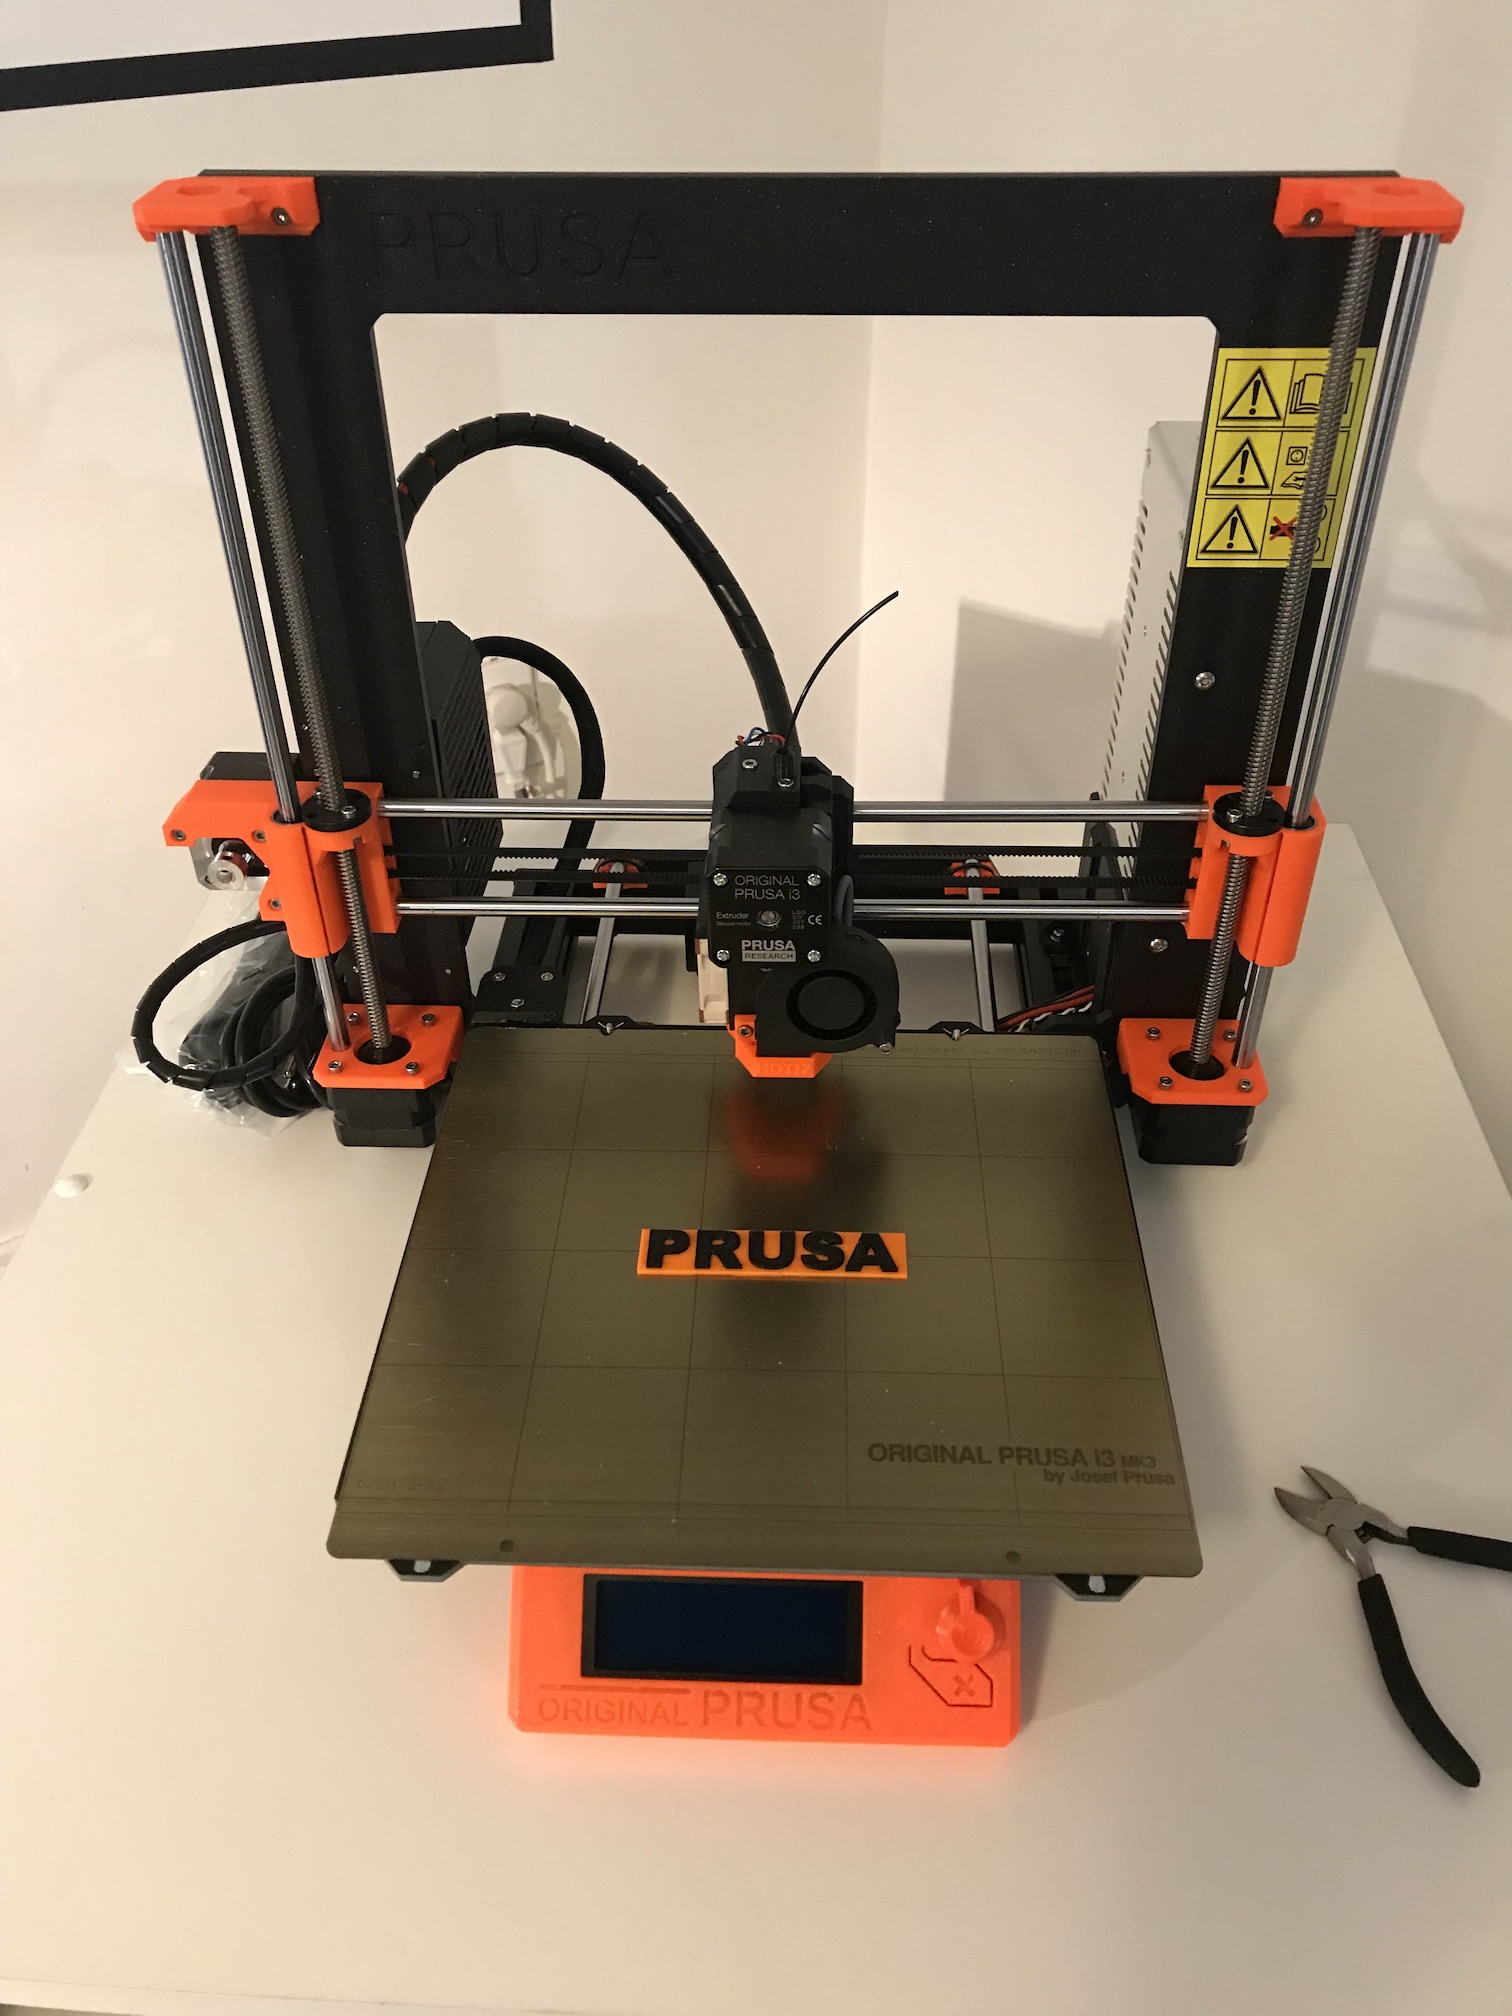
In February I finally got a Prusa i3 Mk3 3D printer that was ordered in December, a very late Xmas gift. I had struggled with a MakerBot Replicator previously, but based on my research, I had high hopes for the Mk3.
This is the story of the first few weeks of 3D printing and what I learned.
Why did you buy a 3D printer?
A few people asked me why I got a 3D printer. At first I my response was a snarky, slightly annoyed, ‘Why not?’
After reflection, trying to determine why the question annoyed me, it occurred to me that no one would ask ‘why’ you bought a table saw, drill press or planer. You made things. That was why. Same here, I like to build things.
When people see the output of the current generation 3D printers, printing good designs, they start to get it. Higher accuracy, better modelling software results in some great prints.
What did you make with it?
A lot of crap. Fidget spinners. Easter Eggs for my niece and nephew. Low ploy things.
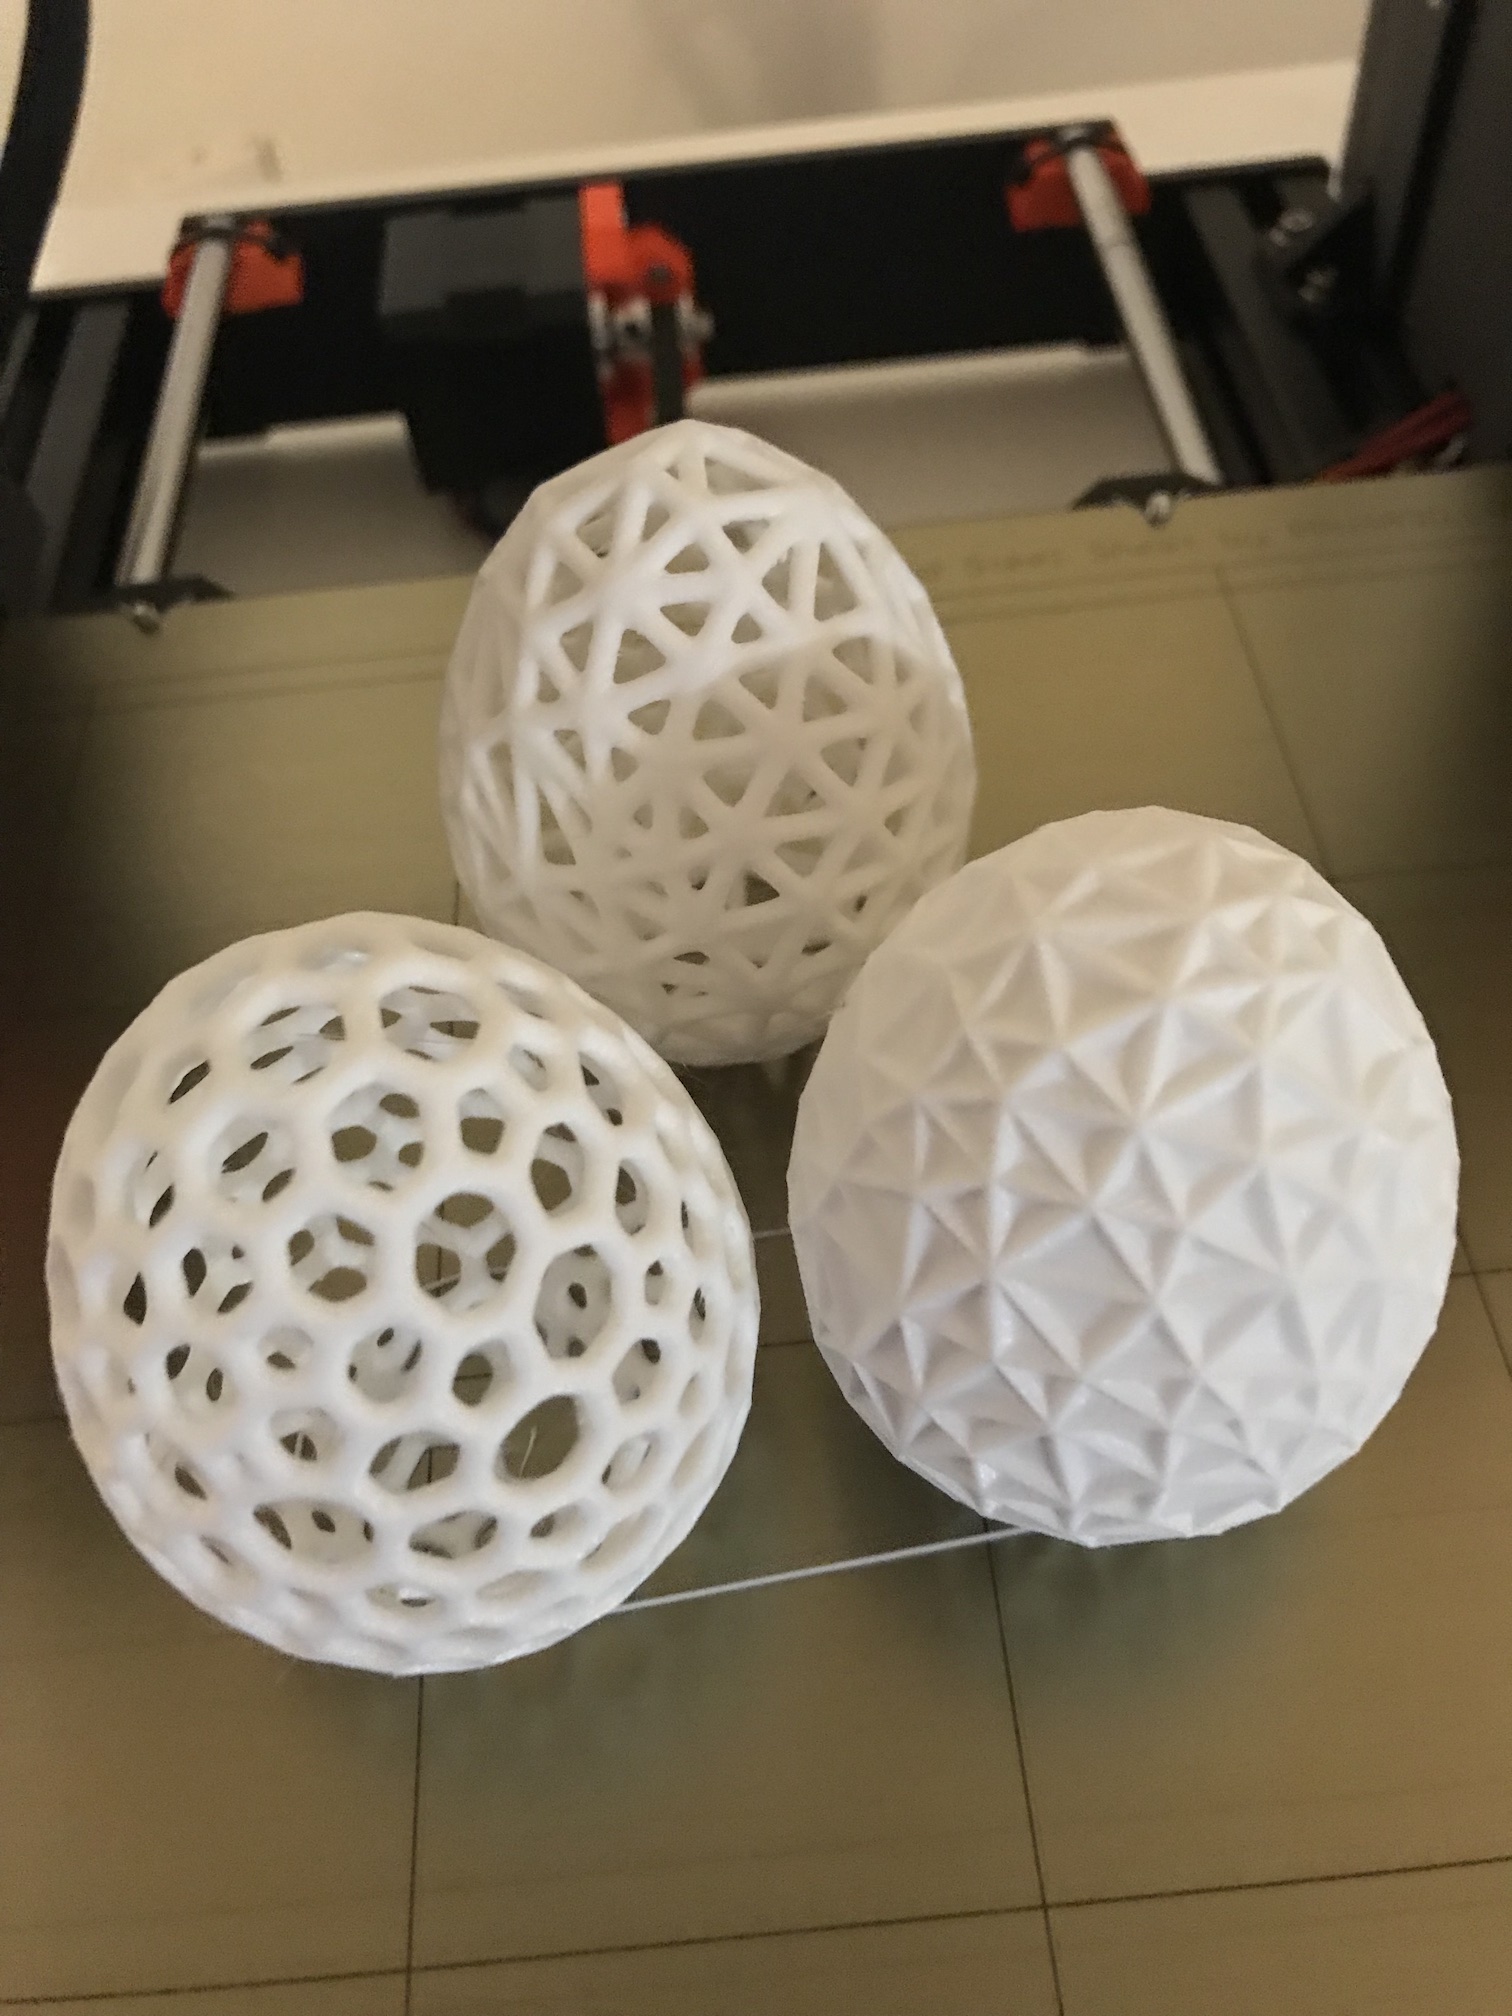
The biggest collection of models and things I have printed have been to upgrade or accessorize my printer. Printing parts for a 3D printer seems to be a self fulfilling prophecy.
There are some small practical things I have printed. Clips for usb cables, covers for webcams, tools to help hold wires when soldering, a pry tool for taking molding and trim off my car. Without getting into creating models, most of the things are from Thingiverse, little things that you can get for a few dollars.
What did you learn?
1. Clean the print bed My print bed is an alloy spring steel sheet with a PEI surface coating. The great thing about it is that it is removable and bending it will pop the print off. However, you still have to clean it, even if it looks like there is nothing on the surface. When I started to have problems with the filament not sticking, I cleaned it with isopropyl alcohol and good as new.
2. Filament quality matters In my haste I got some black PLA from a local shop. When it came to printing with the material, it was a tight fit for high tolerance parts. I could probably tune in the material characteristics when I slice and make the gcode files.
I ended up buying a few spools of Hatchbox PLA in different colors and haven been pretty happy with it. The results ended up matching closely the results from the PLA that shipped with my printer from Prusa.
3. Filament storage Over time, PLA will absorb water from the surrounding air. This will cause the PLA to swell slightly (greater diameter) and can cause nozzle jams. Also print quality can suffer if the moisture turns to steam in the nozzle during print, which can also impact print strength.
To prevent moisture absorption, I bought a bag of desiccant packages online and stored the PLA spools in ziploc bags with the desiccant packages.
4. Setup Octopi OctoPrint is a web app that integrates with 3D printers.
Octopi is a custom version of the Rasbpian OS for the Raspberry Pi that comes with OctoPrint configured.
OctoPrint allows uploading of models and remote management and monitoring of the print jobs.
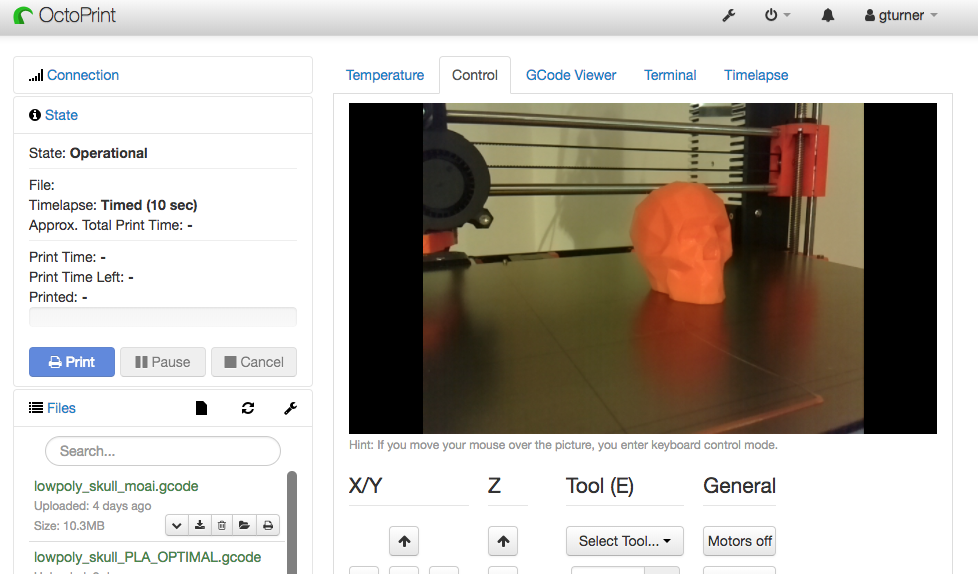
As I wanted to monitor remotely and create time lapse video a Raspberry Pi 3 was used for hosting.
Conclusion
Next steps are to learn how to 3D model. I think this is the key to see the real benefits from this technology.
I have seen some great and well thought out designs and there is an active community remixing and sharing changes.