Arduino Ethernet Temperature Probe
After building my Raspberry Pi dashboard, I decided to go for the geek double crown and use an Arduino to build an Ethernet attached thermometer. Then I would know how cold it was outside my window, not at Pearson International Airport.
Requirements
The following components were used in the build:
- Ardiuno UNO (http://www.adafruit.com/products/50)
- Ethernet shield (http://www.adafruit.com/products/201)
- Proto shield with no headers (http://www.adafruit.com/products/55)
- Tiny Breadboard for testing (https://www.adafruit.com/products/65)
- DS18B20 Digital temperature sensor (https://www.adafruit.com/products/381)
- Headers with extra long legs
or
- 2 sets of headers with regular legs (https://www.adafruit.com/products/85)
A note about the headers: Regular Arduino headers have legs that are not long enough to clear the the Ethernet Shield so I found headers with extra long legs.
The headers I used had legs that were 1.4 cm long, compared to 1.0 cm on the regular headers. The extra long headers appear to be the same ones that were used on the Ethernet Shield.
I was able to find them at a local parts supplier, but do not know were to get them online. If you cannot find the headers with extra long legs, an alternative is to use 2 sets of regular headers and stack them.
Another possibility that I have not tried is to put the Proto shield between the Arduino and Ethernet shield and use regular headers on the Proto shield.
Tiny Breadboard: If you don’t need to prototype the circuit (it is pretty simple) then don’t bother with the tiny breadboard.
Also required: Computer with Processing , a soldering iron, solder, Ethernet cable and usb cable to connect the Arduino.
Hardware
Start by turning over the Ethernet shield and copying down the MAC address for later. Then stack the Ethernet shield on the Arduino.
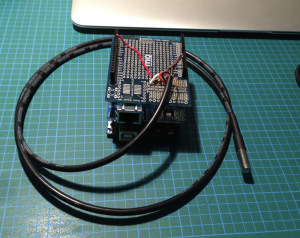
Solder the headers to the Proto shield and stack the shield (with the extra headers if necessary) on the Ethernet shield.
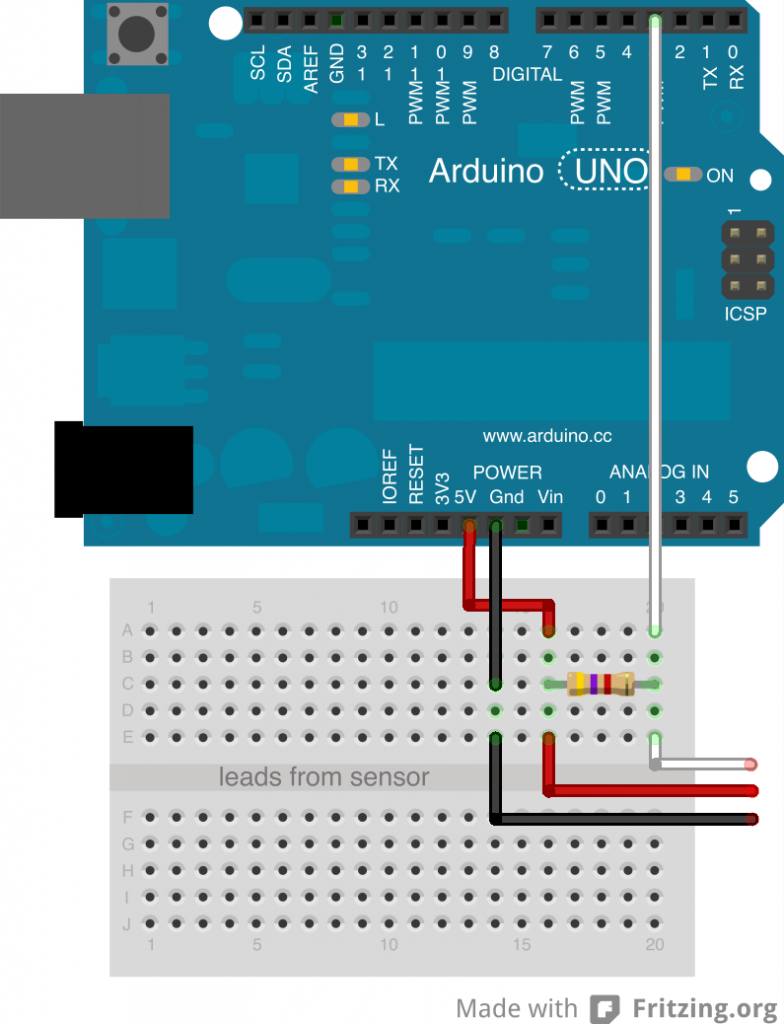
The resistor is 4.7k ohm which is included if you buy from Adafruit.
If you are using the breadboard or Proto shield the wiring diagram is the same.
Software
Arduino Libraries
There are two additional libraries that need to be added to the Arduino app, the OneWire library and the Dallas Temperature Control Library. Known good versions are included in the sketch Github repositories (see below) but current versions can be downloaded from:
http://www.pjrc.com/teensy/arduino_libraries/OneWire.zip
http://milesburton.com/Dallas_Temperature_Control_Library#Latest
For library installation instructions please see:
http://arduino.cc/en/Guide/Libraries
Determining Sensor Address
The 1-wire sensors are digital components that have unique addresses. To determine the address of the sensor, download this sketch, run it on your Arduino and monitor the serial output.
https://github.com/gordonturner/ArduinoOneWireSearch
Copy down the sensor address for the next step.
Web Server Temperature Sensor Sketch
Finally, download this sketch and update the MAC address, IP address and sensor address. Connect your Ethernet cable and run the sketch on your Ardunio.
https://github.com/gordonturner/ArduinoWebServerTemperatureSensor
Enter the IP address you assigned to your device and if everything is working, you should see XML output.
If not, try uncommenting the serial logging statements and start debugging. Don’t forget to set the correct Arduino in Tools > Board.
Thanks
Thanks to the authors of the OneWire and the Dallas Temperature Control Libraries for their great work.
Also thanks to hacktronics and of course the folks at ardunio.cc.
http://www.pjrc.com/teensy/arduino_libraries
http://milesburton.com/Dallas_Temperature_Control_Library
http://www.hacktronics.com/Tutorials/arduino-1-wire-tutorial.html

